visit microsoft learn github for complete instructions
Lab 01: Manage user roles
Your company recently hired a new employee who will perform duties as an application administrator. You must create a new user and assign the appropriate role.
Exercise 1 - Create a new user and test their application admin rights
Task 1 - Add a new user
After creating a user (Chris Green) on entra, search on azure portal or entra and select Enterprise applications in the search dialog at the top of the screen.
Select on + New application. Notice that + Create your own application is unavailable.


- Try Selecting on some of the other settings like Application Proxy, User settings, and others to see that Chris Green does not have rights.
Exercise 2 - Assign the application admin role and create an app
- Assign the application admin role and create an app using Chris Green

Note - If the lab environment has already activated Microsoft Entra ID Premium P2, Privileged Identity Management (PIM) will be enabled and you wll need to select Next and assign a Permanent role to this user.

View the "+ Create your own application** is not grayed out. If you pick a gallery app, you will see the Create button is available.
Note - This role now has the ability to add applications to the tenant. We will experiment more with this feature in later labs.
Exercise 3 - Remove the application administrator from Chris Green
Exercise 4 - Bulk import of users
A: Using csv

B: Using PowerShell
Microsoft Entra ID (formerly Azure AD) does not have a dedicated PowerShell module but is managed using Microsoft Graph PowerShell (Microsoft.Graph) and Azure PowerShell (Az module). Here’s how you can interact with Entra ID using PowerShell:
Open PowerShell as Administrator and ensure PowerShell version 7.2 or higher is installed. If needed, download and install the latest version.
Install Microsoft.Graph Module if not already installed and then confirm if its already installed:
Install-Module Microsoft.Graph
Get-InstalledModule Microsoft.Graph


Login to Azure AD using:
Connect-MgGraph -Scopes "User.ReadWrite.All"

Sign in via the Edge browser and accept permissions.
Verify Connection & View Users:
Get-MgUser
Set a Temporary Password for all New Users:
  powershellCopyEdit$PWProfile = @{
      Password = "<Enter a complex password>";
      ForceChangePasswordNextSignIn = $false
  }

Create a New User(If you have more than one user to add, you can use a notepad txt file to add the user information and copy/paste into PowerShell.):
  powershellCopyEditNew-MgUser `
      -DisplayName "New PW User" `
      -GivenName "New" -Surname "User" `
      -MailNickname "newuser" `
      -UsageLocation "US" `
      -UserPrincipalName "newuser@<labtenantname.com>" `
      -PasswordProfile $PWProfile -AccountEnabled `
      -Department "Research" -JobTitle "Trainer"
(Replace <labtenantname.com> with your tenant's domain.)

Experiment with managing users
Exercise 5: Remove a user from Microsoft Entra ID
After deleting a user from entra we can restore the user again up to 30 days, after that the user will be deleted permanently

Exercise 6 - Add a Windows 10 license to a user account
First, go to entra and make sure that the user’s location is set in the ‘User Properties’ section under the Overview tab of user account. To assign a license, go to the Microsoft 365 admin center at admin.microsoft.com, navigate to the Licenses page, select the desired license, and then add the user.

Lab 02: Working with tenant properties
Login type = Microsoft 365 admin
Create a custom subdomains

you will get redirected to admin.microsoft.com


and then you need to configure the dns setting.
Changing the tenant display name
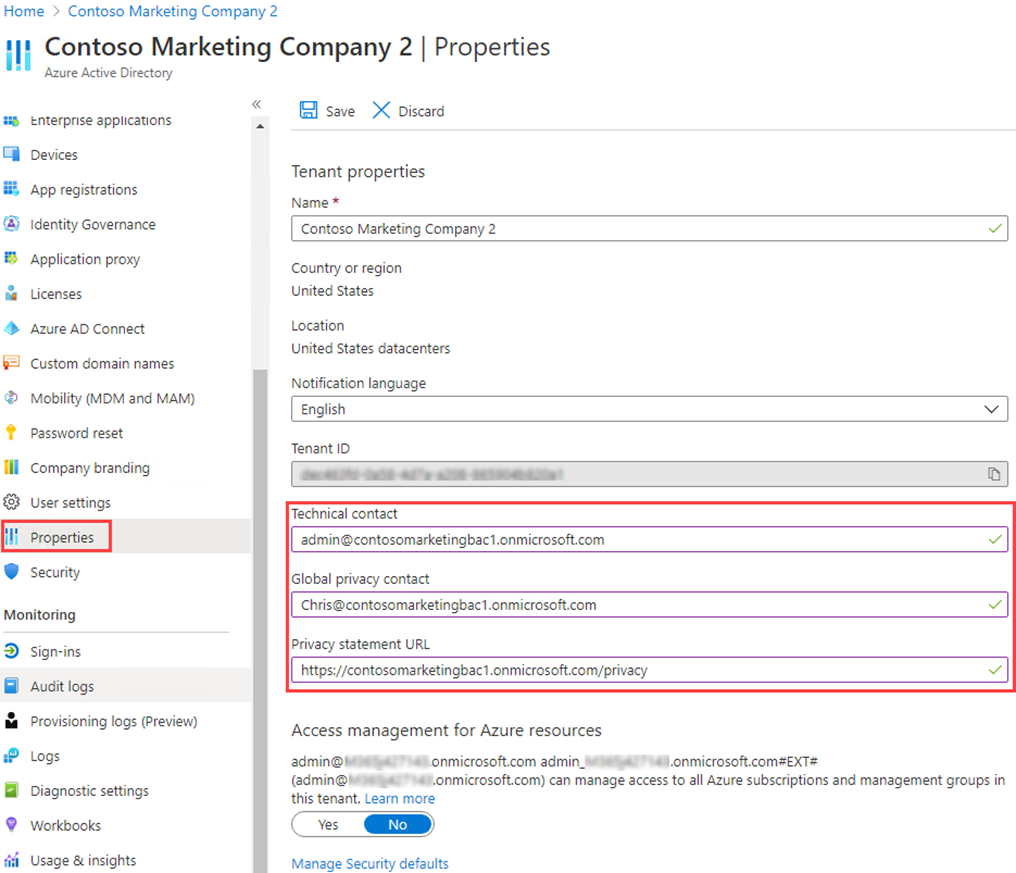
Go to Entra admin center and click on Properties in the overview menu of the Identity section.
IMPORTANT - When the tenant is created, the Country or region are specified at that time. This setting cannot be changed later.
💡
Under Tenant properties, locate Tenant ID. This is your unique tenant identifier.


Azure subscriptions have a trust relationship with Microsoft Entra ID. Microsoft Entra ID is trusted to authenticate users, services, and devices for the subscription. Each subscription has a tenant ID associated with it, and there are a few ways you can find the tenant ID for your subscription.
The first way is shown above.
Microsoft strongly recommends you add both your global privacy contact and your organization's privacy statement, so your internal employees and external guests can review your policies. Because privacy statements are uniquely created and tailored for each business, we strongly recommend you contact a lawyer for assistance.
NOTE - For information about viewing or deleting personal data, see https://docs.microsoft.com/microsoft-365/compliance/gdpr-dsr-azure. For more information about GDPR, see the https://servicetrust.microsoft.com/ViewPage/GDPRGetStarted.
You add your organization's privacy information in the Properties area of Microsoft Entra ID. To access the Properties area and add your privacy information:
I you have a user in your Azure lab tenant who works as an IT Admin, you can use him as the Privacy contact.
This person is also who Microsoft contacts if there's a data breach. If there's no person listed here, Microsoft contacts your global administrators.
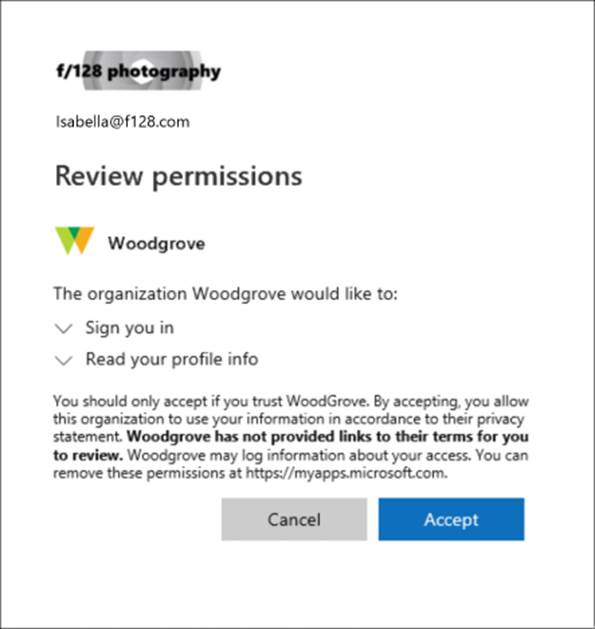
If you don't include either your own privacy statement or your privacy contact, your external guests will see text in the Review Permissions box that says, has not provided links to their terms for you to review.
to check your privacy statement just go to myaccount.microsoft.com and click on setting and privacy
Lab 03: Assigning licenses using group membership
Login type = Microsoft 365 admin
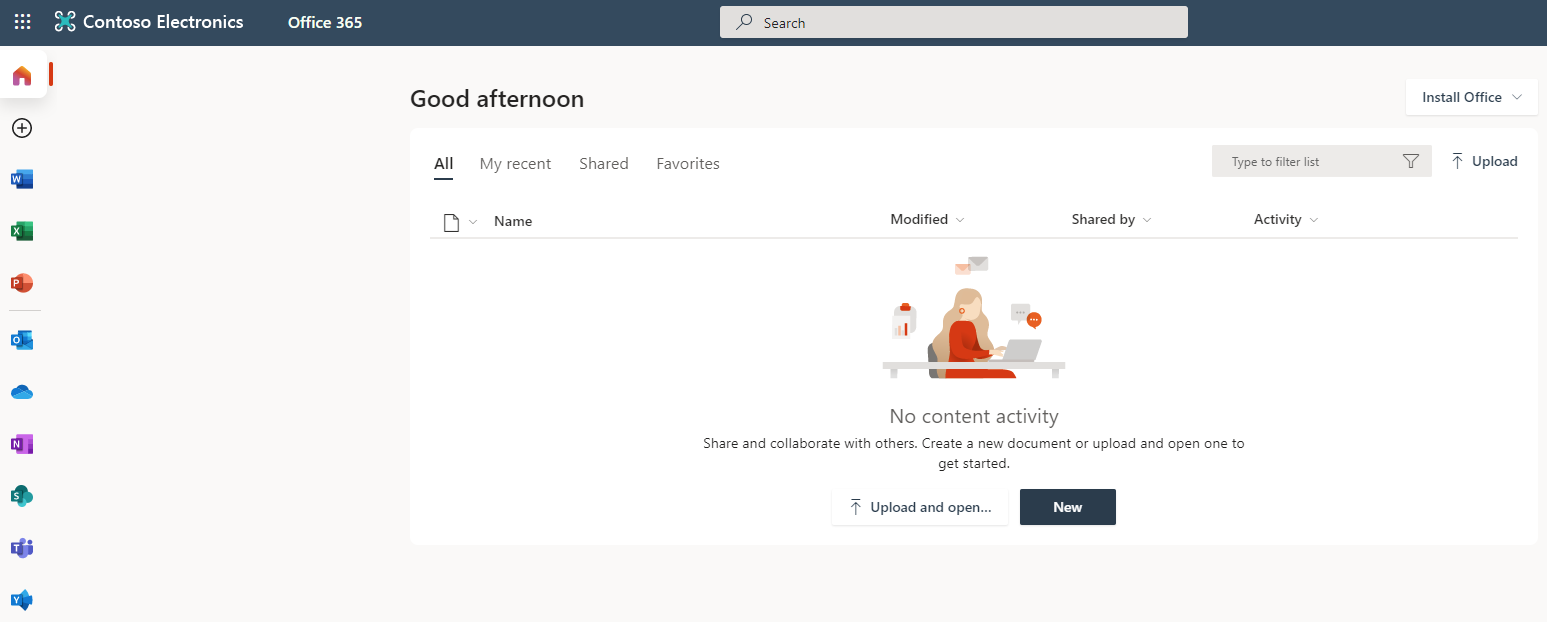
- login to www.office.com with the user credentials to see the user has no license.
- Create a group on entra:

- Add an office license to the group(go to m365 admin center and select billing\licenses\O365E3)

- Then go to O365E3\Groups and assign the license to the group

go back to entra and check the group licenses:

ask the user to login to office.com and see the license there
Create a M365 group in Entra:
- Create a group with two members and add yourself as the owner of the group

Create a dynamic group with this rule syntax: user.object -ne null
(The new dynamic group will now include B2B guest users as well as member users.)


Experiment with alternate rules:
Try making a group with only Guest users:
- (user.objectid -ne null) and (user.userType -eq "Guest")
Try make a group with only Members of the Microsoft Entra users.
- (user.objectid -ne null) and (user.userType -eq "Member")